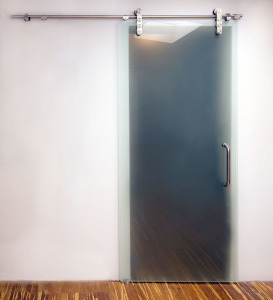
 Yesterday Todd, my second oldest brother, wanted to make a sliding barn door but then he complained that it would take too long, too expensive, and too hard. It was a long talk, but I was able to convince him that everything he knew about barn doors was a lie. Building a farm door only takes seven hours to get done professionally and two if you are fooling this article. Everything that used here only cost 378 dollars and if I can make / create a barn door, then anyone else can. Now here is how you do this in the simplest of terms:
1. Join the Boards
One of the hardest things about starting out is knowing your dimensions. We are going to assume that you already know the width and height of the door you want to build. Whatever your dimensions make sure to cut it half an inch shorter, gang the boards side by side, and finally screw the blocks in place. Remember to remove the clamps.
2. Combine Filler Strips
This self-explanatory and you should follow your cut list. After that only add adhesive to the lower stiles/rail. Make sure to leave a 1-inch channel for the track to guide the door later.
3. Slice the Chevrons
Now set your mitre saw to 45 degrees and cut off one end of each pallet board. Next use a combination square to mark the boards around one-eighth of an inch. Lastly dry fit them together, one chevron at a time.
4. Part the Corners
Just cut the corners of boards. Make sure to make all of the corners sharp to the touch.
5. Establish the Pattern
Dry fit the chevrons to both panels and lift one board at a time to apply more adhesive to the undersides. Press back to in place and repeat this process until you see the pattern appear.
6. Drill Hollow Holes
Your cut list should explain where you should drill the pocket holes. Typically you will drill two at each end of your upper and middle rails.
7. Build the Support
Now that you have everything ready, this should be as manageable as making a wood jigsaw piece. Just make sure to clamp the frame together once done.
8. Connect the Face Frame
Apply adhesive in a zigzag pattern along the filler strips. Align it with all four edges then you are done. Some people tack it down with brads every eight inches.
9. Rub On the Termination
No need to explain this. Barely sand the entire door and apply the finish.
10. Ascribe the Rollers
Mark the screw locations as indicated by your cut list then replace the wheels. Once you slip the wheels on the grooves, then do one final measure of the door and the track to determine how high the casing has to be.
11. Attach the Mounting Lumber
Use a stud finder to locate the framing and mark the locations of the casing. The hardest part is levelling the mounting board.
12. Fix the Track
If you’ve done it this far, then install the track should be a snap, however, this is unique depending on your measurements. Just make sure to ratchet the rest of the legs in place and snug them all up.
13. Scroll the Door On
Now just roll your creation in place and marvel at your work. Just make sure to position the door handle on the centerline of the stile then you have done it!